The document repository provides a centralized location where you can store, manage, and track all your documents. In addition to monitoring sent and signed files, you can also save drafts and upload documents for internal use.
In this article:
Send documents for signature from the Document Center
To locate and manage your documents, follow these steps:
Open the Document Center from the top menu and select Documents from the dropdown.

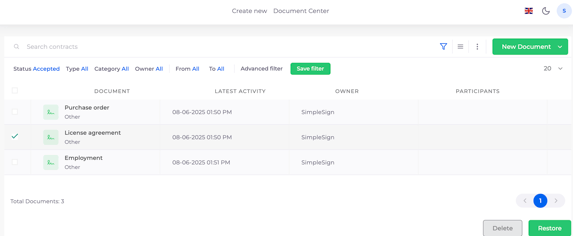
Document Overview
A list of all documents, along with their current status, will be displayed.
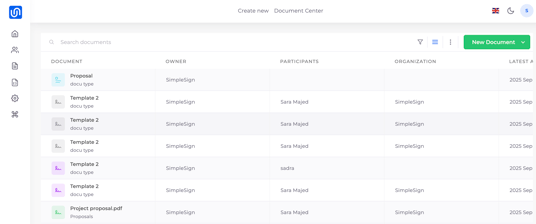
Adjust your layout
You can adjust the layout of the columns in your document overview.
To do so, click on the three-dotted menu to the left of the New Document button and select Manage Columns.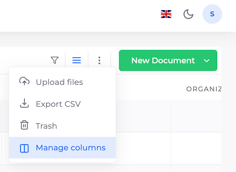
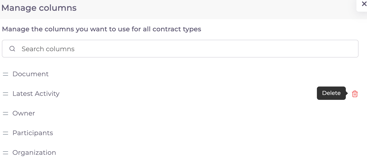
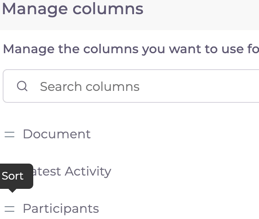
Here, you can choose to hide columns you don’t want to be visible by clicking the trash can icon next to the title, or drag and drop them to change the order.
Filter your documents
-
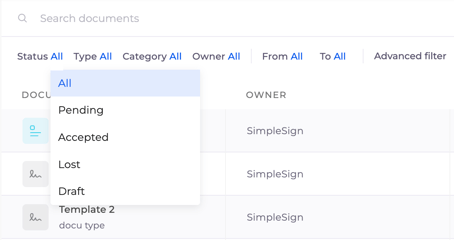
Search and Filter
Use the search bar or the filter icon (funnel symbol) in the top right corner to find specific documents.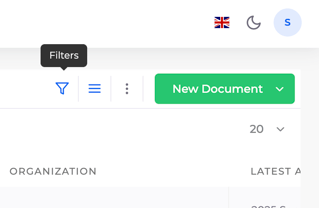
-
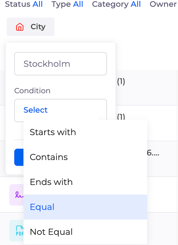
Advanced Filter
Use advanced filters to sort your documents based on specific metadata.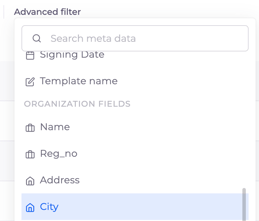
- Saved filters
Save your filters to quickly access the documents you need. Once saved, you can select your preferred filter from Saved Filters, and with one click, all relevant documents will appear.

To edit or manage saved filters, click Manage Filters next to the gear icon at the bottom of the filter list, then click the three dots next to each title to edit.

- Trash
Deleted signed documents are not permanently removed immediately. They are first moved to the Trash.
To find the Trash, click the three-dotted menu next to the New Document button and select Trash.

To permanently delete or restore documents from the Trash, select the documents you want to manage and then click the corresponding green button in the bottom-right corner to perform the desired action.
To go back to the document overview, click on list view.

View document details
-
Access and Download Documents
Click on a document to view its details or download a PDF copy.
In this document preview, you can:
-
Get an overview of the document information and fields.
-
Under Signature Request, you can, among other things, edit the expiration date of the signature request.
-
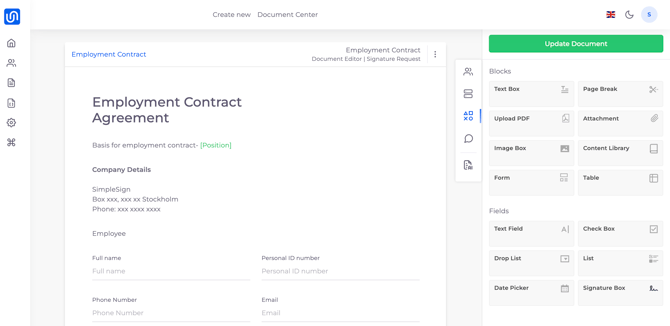
If a document has not yet been signed, clicking the document will open the document editor, where you can make updates or continue a draft.
-
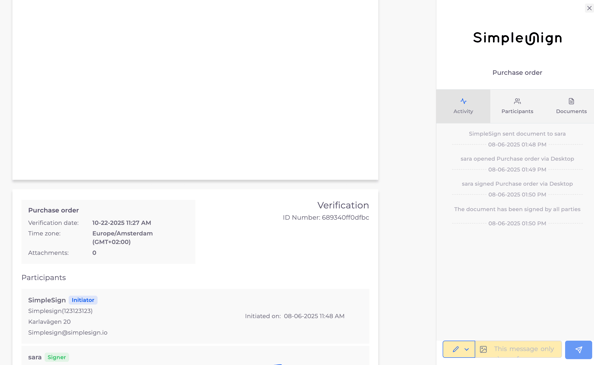
If the document has been signed, you’ll see what the recipient sees, including their activities and signatures.
-
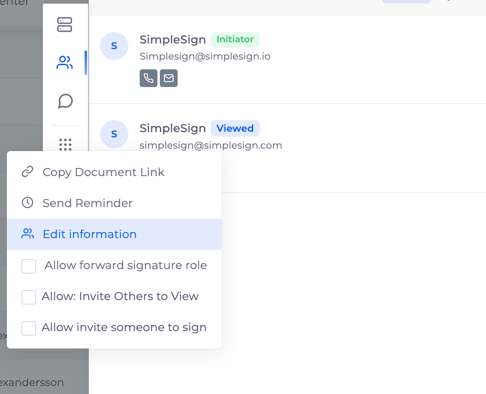
Under Participants, you can change the recipient’s email for a sent document and access their individual document link if they’re experiencing issues with their invitation method.
-
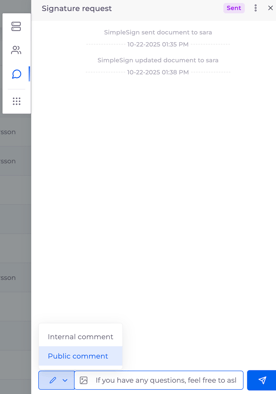
Under Activities, you can track document activity and view the audit trail in real time. You can also write internal comments, and if Document Chat is enabled, you can view the chat here as well.
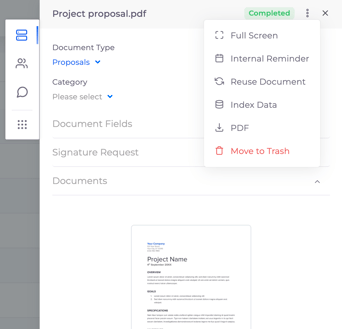
In the top-right corner, the More Options menu allows you to:
- Set internal reminders
- Reuse the document
- Access index data
- Revoke (if not yet signed)
- Download the document
- Delete or move to Trash

Upload and create documents
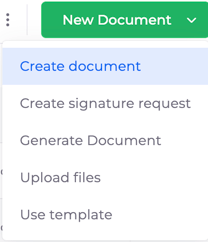
To upload a document to the Document Center for storage or internal use, click the green New Document button in the top-right corner. Then, choose whether you want to create a new document or upload an existing file.
Send documents for signature from the Document Center
You can also send your documents directly from the Document Center.
Click New Document in the top right corner and select how you would like to create the signature request.
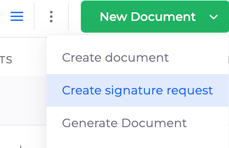
You can choose to:
Create signature request form scratch.
Generate document from a prompt or from a reference document.
Use a template: Use an existing template with pre-filled fields.